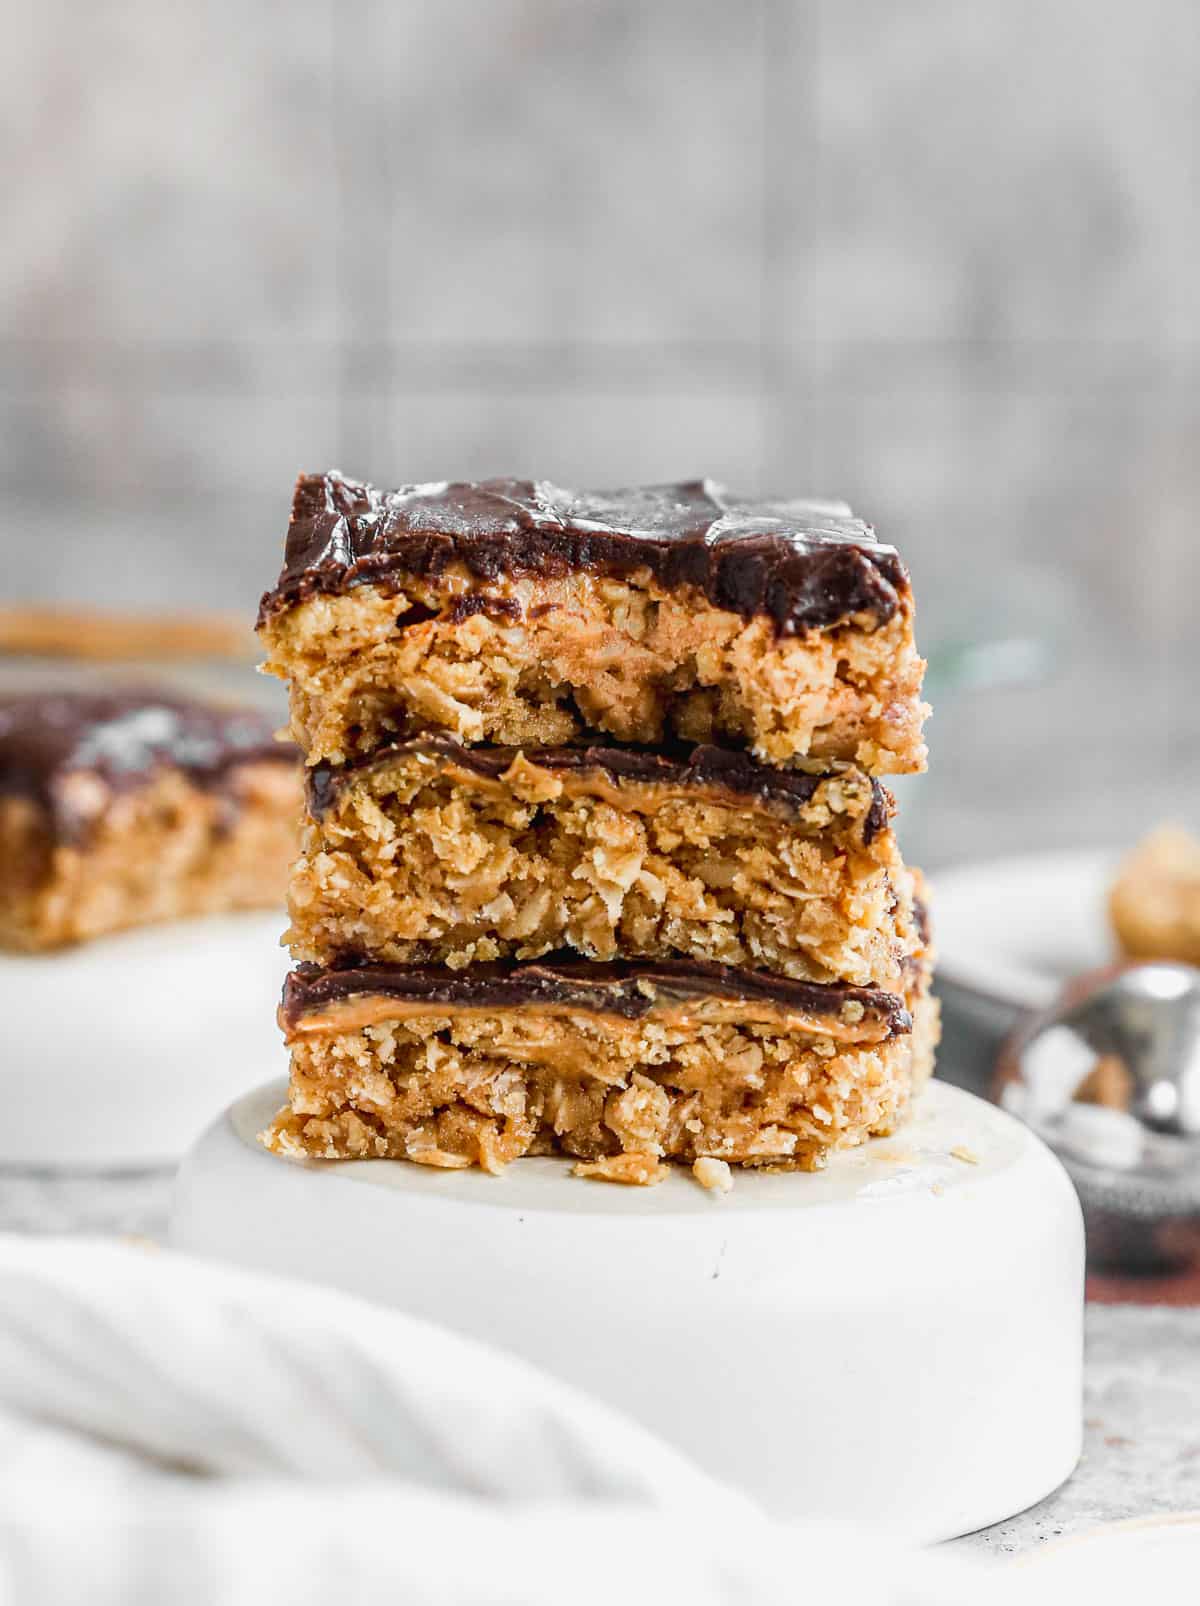
These chewy Peanut Butter Bars are everyone’s favorite and so easy to make! They’re thick and chewy and topped with peanut butter and chocolate glaze.
Do you love dessert bar recipes? Try our Oreo Bars, Blondies, S’mores Bars, or Sugar Cookie Bars!
This easy peanut butter bars recipe was shared by a family-friend when I was a little girl and it’s been our huge family favorite ever since! They are completely addicting and you will want to eat the entire pan by yourself. Consider that my warning 🙂 .
How to Make Peanut Butter Bars:
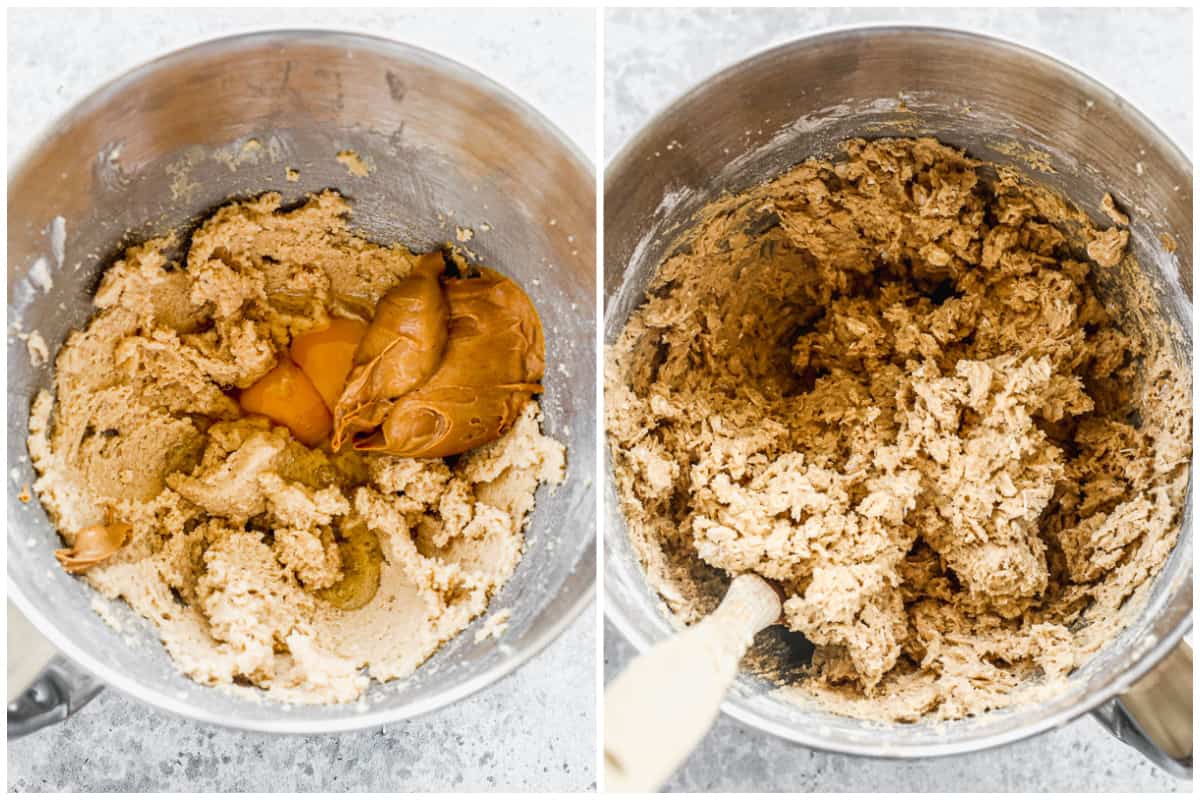
Make Batter: Cream together the butter, sugar and brown sugar. Add eggs, vanilla, and peanut butter then mix well. In a separate bowl, mix together the dry ingredients then add dry ingredients to creamy mixture.
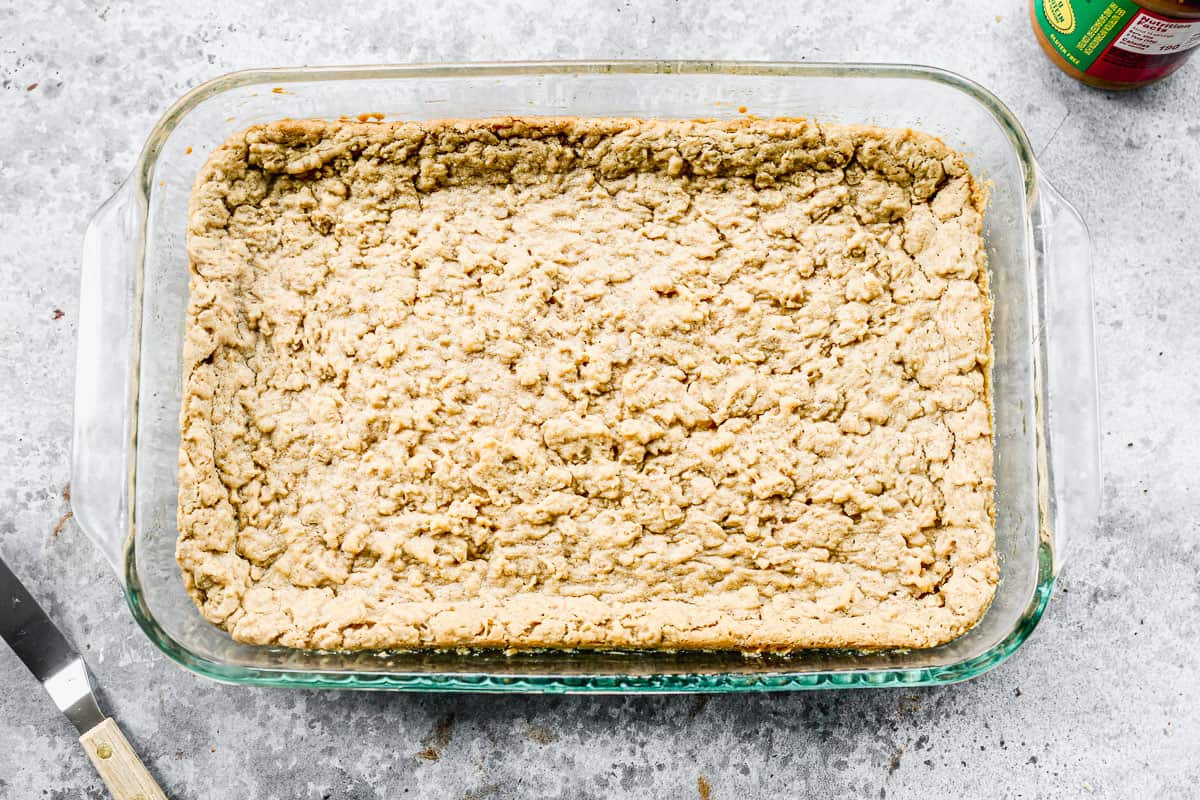
Bake: Press firmly into a greased 9×13” pan and bake at 350 degrees for 17-21 minutes. Do not over-bake! They will look just barely set in the center and they will harden as they cool. Allow to cool completely.
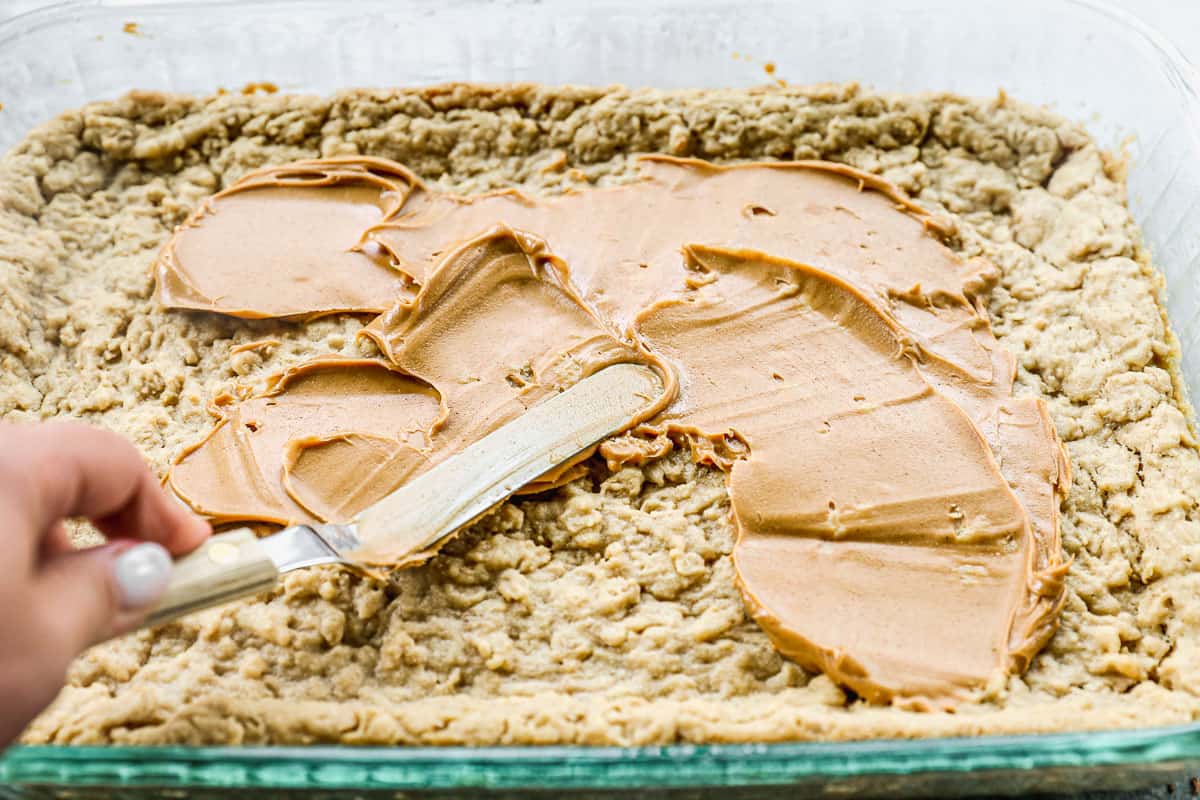
Spread Peanut Butter: Once cooled, spread a thin layer of peanut butter over the bars.
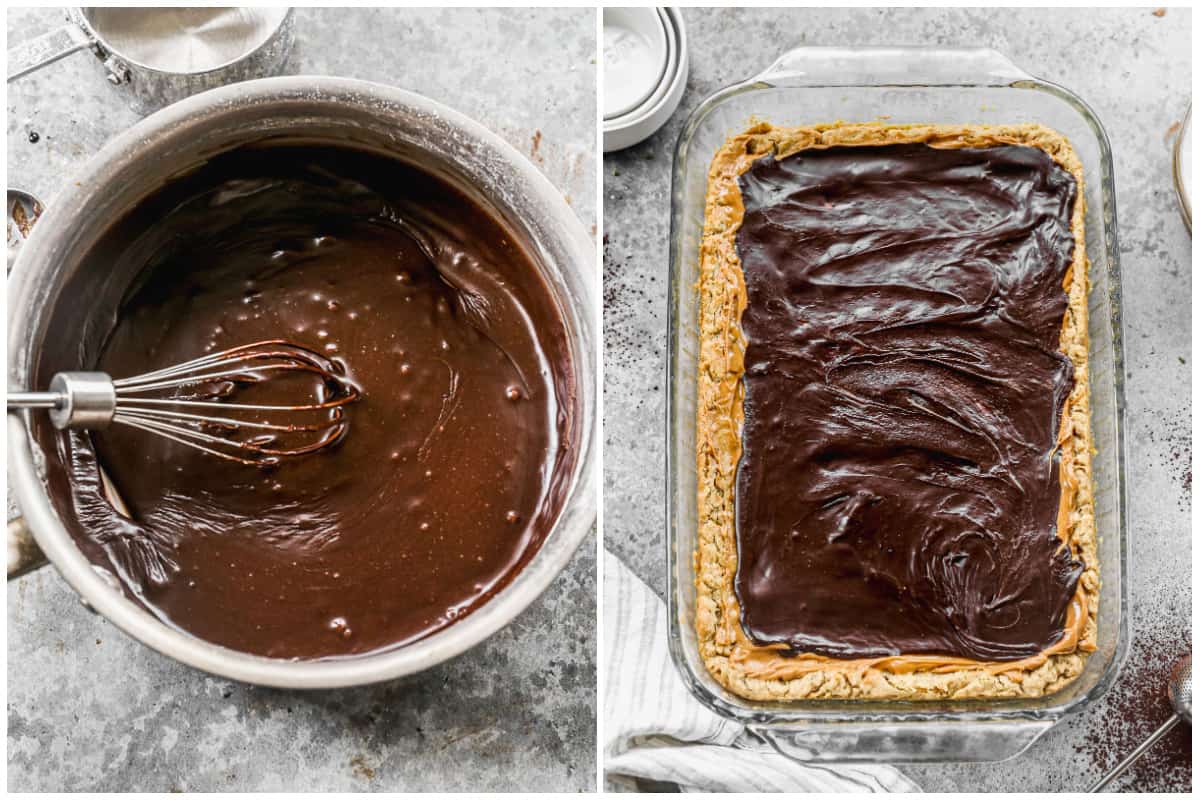
Top with Chocolate Glaze: Melt butter in a small skillet over medium heat then stir in cocoa. Remove from heat and add milk, powdered sugar and vanilla. Whisk until smooth, using electric beaters to get out any lumps, if needed. Spread chocolate frosting over the top of the bars.
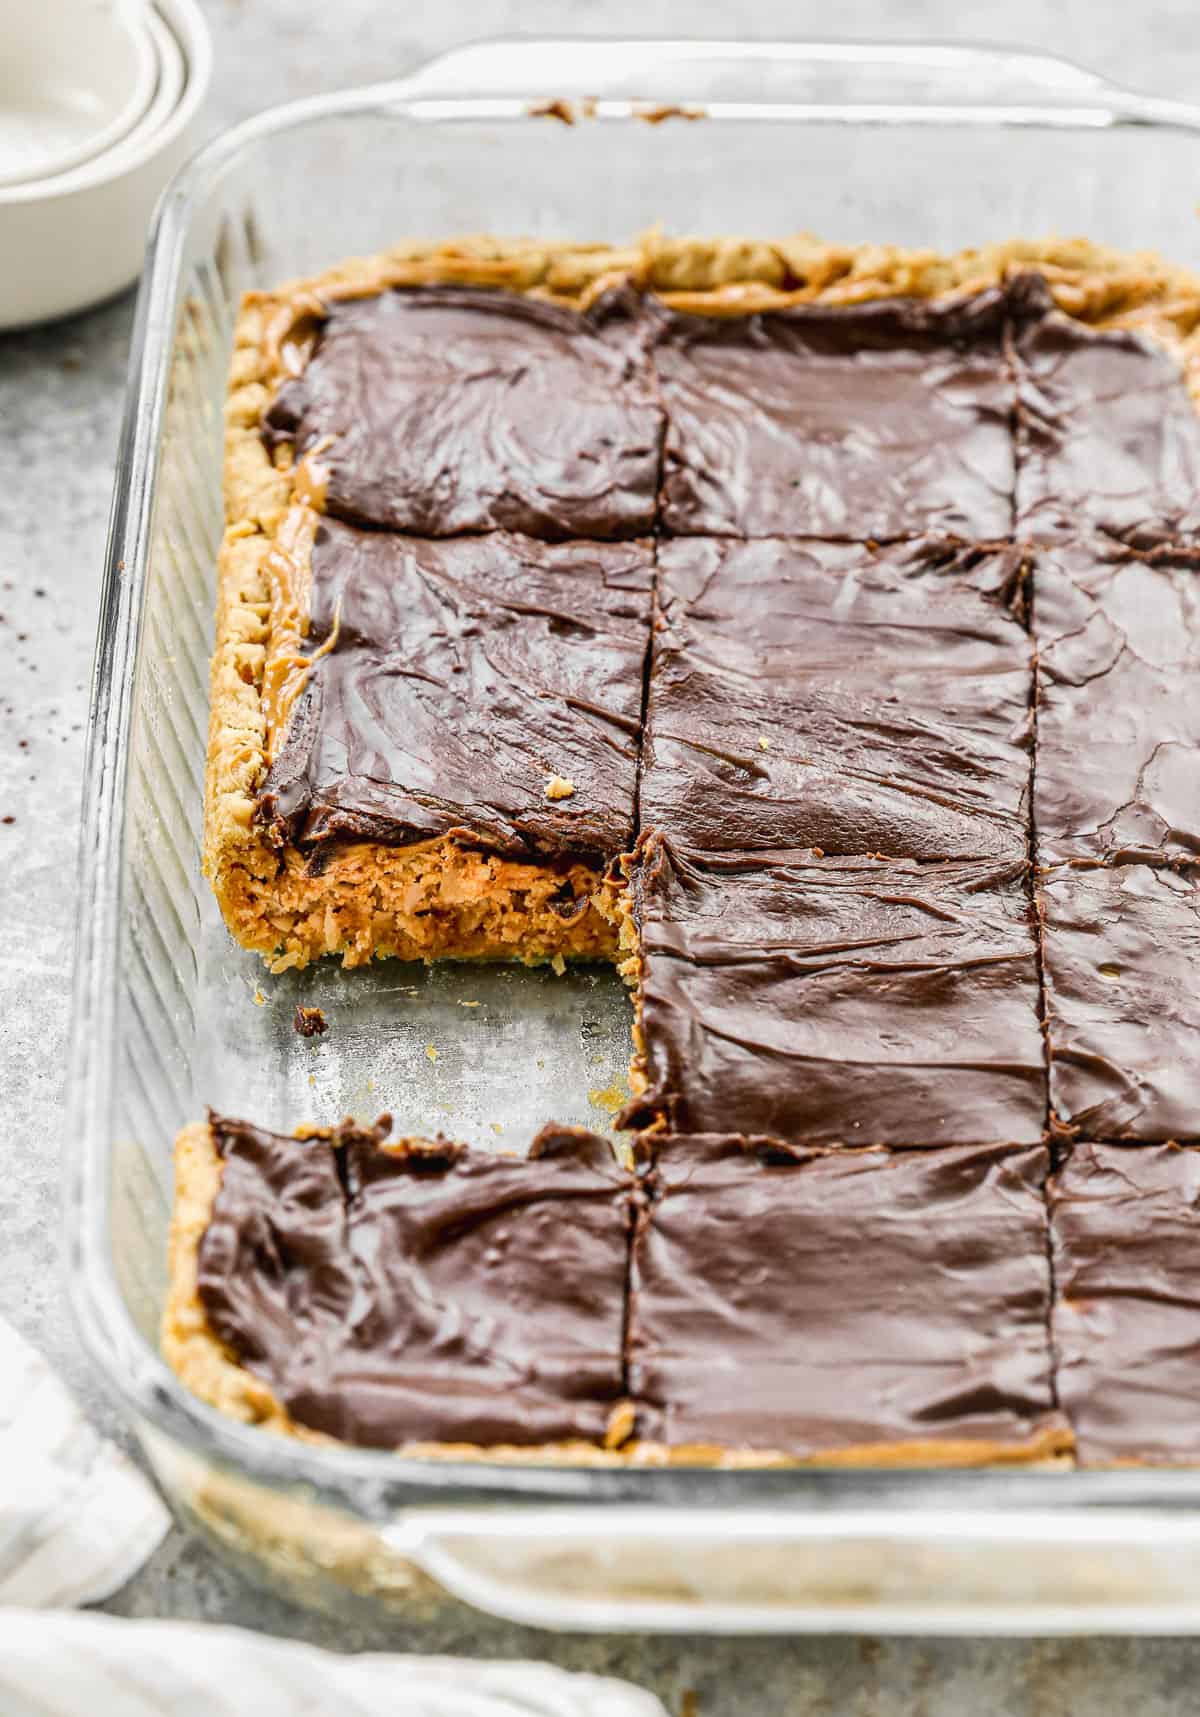
Enjoy: Cut these homemade peanut butter bars then serve. Cover any leftovers then keep for a few days at room temperature, or in the fridge for up to a week.
Make Ahead and Freezing Instructions:
To Make Ahead: Chocolate Peanut Butter Bars will keep well for up to 1 week, stored in an airtight container in the fridge.
To Freeze: Cover well and freeze for up to 3 months. Thaw overnight in the refrigerator, then bring to room temperature before serving.
Consider trying these popular “bar” recipes:
- Snickerdoodle Bars
- Butterfinger Cookie Bars
- Peanut Butter Brownies
- Perfect Lemon Bars
- Butterscotch Bars
- Rice Krispie Treats
Follow me for more great recipes
Recipe

Peanut Butter Bars
Ingredients
For the bars:
- 3/4 cup butter , room temperature
- 1/2 cup granulated sugar
- 1 cup light brown sugar
- 2 large eggs
- 1/2 teaspoon vanilla extract
- 1/2 cup creamy peanut butter (plus more for spreading over baked bars)
- 2 1/2 teaspoons baking soda
- 1/2 teaspoon salt
- 1 1/2 cups all-purpose flour
- 2 cups old-fashioned rolled oats
For the chocolate frosting:
- 1/4 cup butter
- 1 Tablespoon unsweetened cocoa powder
- 1 1/2 Tablespoons milk
- 1 1/4 cups powdered sugar
- 1 teaspoon vanilla extract
Instructions
- Preheat oven to 350 degrees F. In a large mixing bowl, cream together the butter, sugar and brown sugar.
- Add the eggs, vanilla, and peanut butter and mix well.
- In a separate bowl mix together the dry ingredients. Add dry ingredients to creamy mixture.
- Press firmly into a greased 9×13” pan. Bake at 350 degrees for 17-21 minutes. Do not over-bake! They will look just barely set in the center, and they will harden as they cool. Allow to cool completely.
- Once cooled, spread a thin layer of peanut butter over the bars.
To make the chocolate frosting:
- Add butter to a small skillet over medium heat. Once melted, stir in cocoa.
- Remove from heat and add milk, powdered sugar and vanilla. Whisk until smooth, using electric beaters to get out any lumps, if needed. .
- Spread chocolate frosting over the top of the bars.
Notes
Nutrition
Did You Make This Recipe?
Tag @TastesBetterFromScratch on Instagram with #TastesBetterFromScratch!
I originally shared this recipe in April 2013. Updated February 2018, May 2021 (frosting recipe amended) and June 2023.
Follow Me
This post contains affiliate links.


These were delicious. I hate when people alter the recipes and then rate them…I’m sure the “as is” recipe is as good. Here were my changes: threw in a handful of choc chips to the base. My frosting was: 2 1/2 cups choc chips melted with 3T peanut butter then spread on top. Delicious!!
Incredible!! I made these without printing the recipe out and then….spent untold time looking fir this recipe again, as I must have these again and again! I use fresh ground flour and they are sooo yum!
This recipe was something my mom and I made when I was a child. So when I made it, it brought back memories. Instead of the extra layer of peanut butter and the fancy frosting my mom just melted chocolate chips on top immediately after she took it out of the oven. So easy and so good! I loved reliving the food that mom made.
I made these as the recipe says, and I think they needed at least 1 tsp less Baking Soda. I felt like the had too much, as it was pretty strong.
Otherwise, I thought it was good.
can this recipe be made without rolled oats? If so, what could be the substitute or how much other ingredients should be added? Thanks
If you can’t use oats, you can use triticale. You can get it in the health food store. My sister is allergic to oats, and the triticale works nicely.
I thought bars were dry, I used quick oats so wondering if that would have made them dry. I put extra scoops of peanut butter in the base, only used 1 1/2 tsp baking soda. They could have had more of a peanut butter taste.
Send me new recipes
I’ll get you on our email list! Be on the lookout for them.
Made these exactly as recipe says and they were perfect! My husband said, “please make these as much as you want!” Haha thanks for the yummy recipe!!
The Best Peanut Butter Oatmeal bar in the world!!!
I was thrilled to find this recipe…. ticked every box for middle of winter blahs pick-me-up. I am a seasoned cook , followed recipe to the T, and was shocked at the awful ” salty” taste they had when completed. I finally figured out it was the amount of baking soda listed in the recipe, which I thought was quite a lot when preparing the dry ingredients. My husband concurred about the baking soda taste. Sadly, I threw the whole pan out, quite an expensive disaster. I was determined to get this recipe right, so I remade them using half the baking soda (i.e 1 1/4 tsp.), and they came out beautifully. I then came here to read the comments, and was interested to see more than a few commented on the “saltiness”….. it’s not the salt, folks, but the baking soda (which IS salty in and of itself!). Give it a try next time you prepare these
Great recipe. I use extra crunchy in the cookie. The mention of keeping in the fridge is laughable, if these aren’t gone in a few hours you need to sort out your priorities.